Saturday, April 30, 2011

Miss Megan

Hello, friends! :-)

A little over a week ago, I found a pattern online for an Amigurumi doll, and decided to try making it. After I finished her, I made another dress for her. Her name is Miss Megan.

Here are some pictures {and a pattern! :-) }


I made up the pattern for this dress. Fortunately, I wrote it down so I can share it with you!
Here it is:

Doll Skirt Pattern

Rnd. 1. Ch. enough to fit loosely around dolls wast.
Rnd. 2. ch. 3, dc in ea. ch around
Rnd. 3. ch. 1, in back loops only, 2sc in ea. dc around
Rnd. 4. ch. 3, in back loops only, dc in ea. sc around
Rnd. 5. ch 1, in back loops only, sc in ea. dc around
Rnd. 6. Rep. rnd. 4
Rnd. 7. ch. 1, in back loops only {sc in next st., 2sc in next st} around
Rnds. 8-11. Rep. rnds. 4 and 5 alternately
Rep. rnds 7-11 until skirt is desired length
Hem {optional}: ch. 3 , dc in next st., {2hdc in next st., 2 sc in next st., 2 sl. st. in next st., 2 sc in next st., 2hdc in next st., 2dc in next st.} around


Have a good Saturday!
~Tater

Friday, April 8, 2011

Felted Hat

Hello, friends!
In this post I am going to do a tutorial on felting crochet projects. I have a book called The Colour Book of Felted Crochet, and in it is a pattern for a Fedora hat, which I had wanted to make for a long time. A little over a week ago, my mother, sister and I were at Michaels's, and I decided to go ahead and get the wool yarn I would need for my hat. I started crocheting it on Tuesday, and finished it yesterday. Today, I felted it {with Mom's help}. First, I tried felting a swatch I had made from the leftover yarn, and that came out pretty well. So anyway, here is step-by-step instructions, with pictures, on how to felt :-)

Felting Crocheted Projects

Notes and tips before starting:
1. Your project must be made out of wool yarn. 100% wool felts best, but anywhere from 50% up should work.
2. I noticed that taller crochet stitches {such as treble or double treble} do not felt as well. They do not blend together.
3. When crocheting the project you are going to felt, it is best to make the stitches a little on the loose side {don't forget to check that with your gauge!}. The looser the stitches, the more friction you will have when felting it, and your project will felt better.

You will need:
A basin deep enough to fill with water to cover your project
Rubber gloves
Mild dish soap or shampoo {I used baby shampoo on the swatch, and both baby shampoo and dish soap on the hat.}
A towel
Warm and cold water
Optional: blocking aids {pins, a bowl, etc.}
Optional: A hair dryer
Something to felt :-)


Fill basin with enough hot water to cover your project. Make sure the water is very hot but not so hot that you can't keep you hands in it, like me :P The hotter the water, the faster your project will felt, and the colder the water, the slower it will felt. Add a small squirt of shampoo/dish soap.


Completely submerge project in the water, and agitate it evenly with your hands. To soft-felt it, only work it so that the stitches are slightly fused together, but still clearly visible. To hard-felt it, continue to agitate until the stitches are no longer visible, the fabric is thicker, and a little stiff. If the fabric does not seem to be felting, you can "shock" it, by putting it in cold water for a few minutes, and then returning it to the hot water.


When your project is felted to your satisfaction, take it out of the hot water and place it in cold water. Gently rinse it without agitating it anymore. The cold water will stop the felting.


After you have rinsed your project, lay it as flat as possible on a clean, dry towel. Roll the towel with the item in it as tight as possible, to squeeze out the excess water. Unroll it, and block it if you need to, as it may be a little out of shape from the felting.


At first, I tried using a bowl to block my hat, but then I used a hat form, and blocked only the brim. I also used a hair dryer to help it dry more quickly.

My hat turned out pretty well, except the brim is a little too wide and floppy for my liking, but I can easily change that.


Before - It was a little to big.


After


If you try felting using this tutorial, please comment and let me know how it turns out! :-) And feel free to ask any questions.

Happy Felting,
~Tater

Thursday, March 17, 2011

Birthdays

I wanted to share these projects with you a earlier, but when I uploaded the pictures, I saw that none of them were any good. So I had to wait until we had some sunshiney days to take nicer pictures :-)

This is the roto-tiller pillow I made for Daddy for his birthday. He loves roto-tillers, I have no idea why!
Lindsey helped me make up the pattern for it.


This is the seal I made for Lindsey for her birthday.
I found this pattern online.


Have a happy day, my friends!

~Tater

Friday, March 4, 2011

"Pretty Pollyanna"

I recently came across a website called Free Vintage Crochet with all kinds of cute patterns for many different items. I decided to try making the doll dress "Betsy from Pike".
I used the pattern for the skirt, and made up the rest on my own. I only wish I could remember what I did so I could share it with you :-(


The sleeve.


Sorry the focus is off on this one. This is the hem.


The hat is my favourite!! I want one in my size :D


Have a good week-end!

~Tater

Thursday, March 3, 2011

A Giveaway

I recently came across a blog by a lady named Tina. She knits adorable dolls, and is giving one of them away on Monday, March 7th. To enter, visit her blog here and leave a comment on this post. To enter twice, post about it on your blog and let her know you made a post.
Have a happy day!
~Tater

Saturday, February 26, 2011

Organizing

I'm so sorry I haven't posted in such a very . long . time! I've been pretty busy recently, and I have a lot of projects to post about. I hope to get pictures of them all and post about them very soon!

A few days ago I decided to organize our yarn tote. About halfway through it, I regretted ever starting. But when I finished, I was very glad I did it!

I took this:...


...to this:


and this:...


...to this:...


...to this:


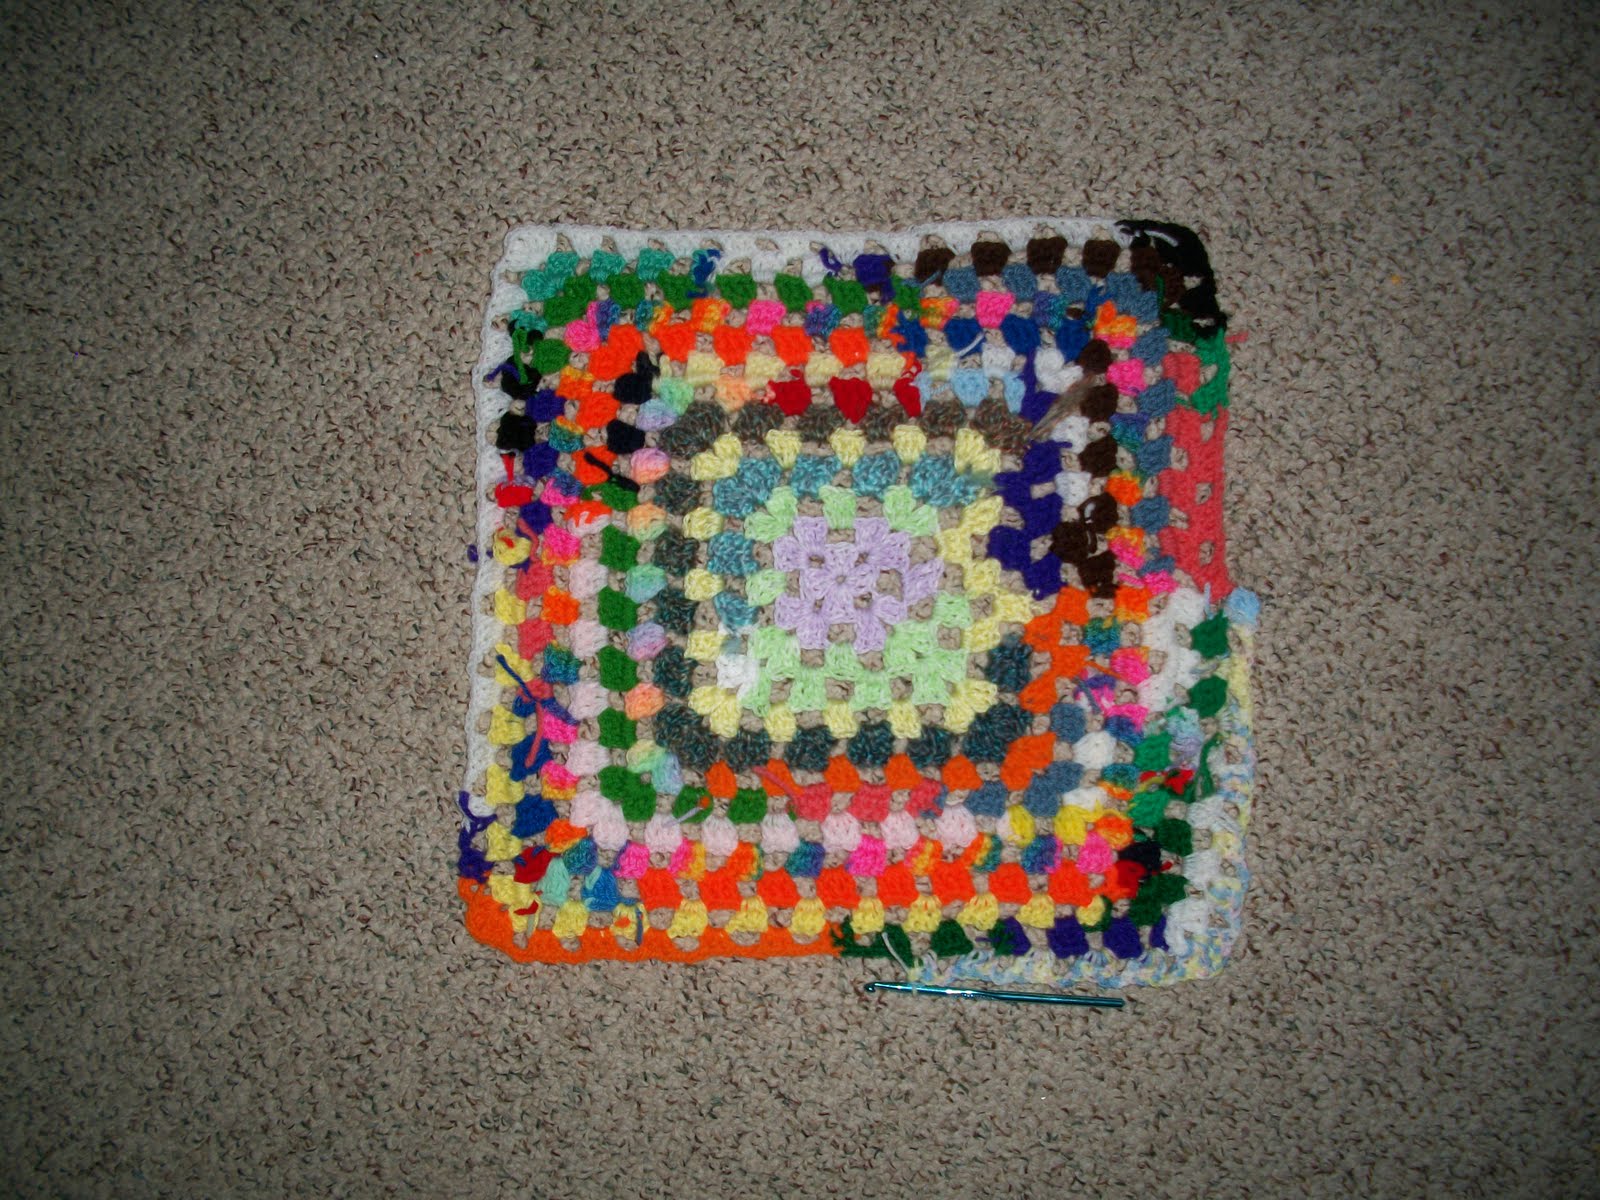
It's a scrap blanket. It's something you can do with all of those skein ends that are too short to make anything out of but too long to throw away. I'm basically making a giant granny square. Of course, it is far from finished, I just work on it as I get scraps. I basically took a disorganized, tangled pieces of yarn, untangled and organized them, and then put them into a very disorganized blanket. I love that it's crazy, weird, and random. Like me ;-)

I promise I will try very hard to post about all my other projects soon!

Later,
~Tater

Edit ::: Sorry the words are funny between the pictures. I don't know how to edit it :P

Wednesday, September 15, 2010

Just a quick update

When I went down to NC with my family to visit some friends, I lost the hook I need for my blanket. I've searched, my friends in NC searched...nothing. Today we went to a yard sale and I got a baggie of misc. hooks in it. Now I have a replacement for the one I lost and can work on my blanket again.

Note: When I went to start working on my blanket again, guess what poked out of the skein of yarn? Yep, you guessed it! My other hook!

That is all,
~Tater-tot